


I produce custom knives and sheaths to order
Please contact me to discuss your requirementsinfo@handmadematt.com
This is an easy to follow procedure for any beginner to have a go at making their own knife.
It's how I began and made my first blade. Since then I have evolved and refined the process to produce a very high level of quality.
Below is an old farriers rasp (file) this will be the steel for this knife:

File steel is very hard meaning that it is brittle and can easily snap. Also trying to cut and work with hardened steel will be tough work on you and your tools. For this reason the file needs to be annealed. This means to be softened. To do this I put the file in my wood burner to heat as hot as I could and then allowed it to cool overnight. (It's this slow cooling that results in a softer steel.)
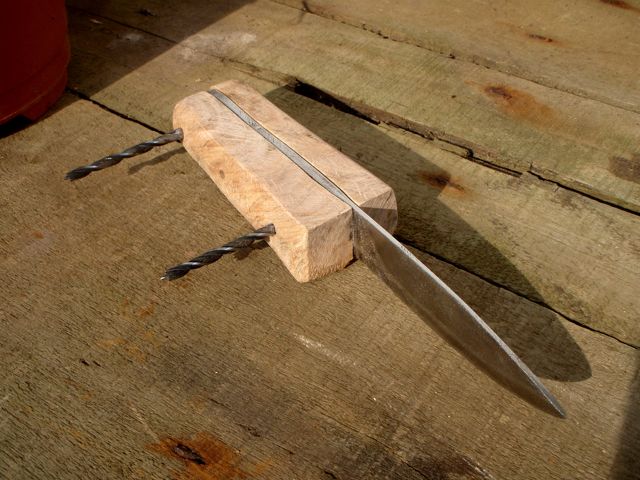
I then drew on the desired shape cut it out with an angle grinder:

Having cut out the shape I cleaned it up with a file and ground the beginnings of an edge into the blade. Three holes were also drilled through the "tang" or handle:

The blade was now ready to be hardened again. To do this I heated it up literally red hot in a home made brick charcoal forge, using an airbed foot pump connected to a metal rod to supply oxygen to the heart of the fire:


Steel loses it's magnetism once it reaches the correct temperature, I checked this with a small magnet:

Once confirming that the blade was the correct temperature it was time to quench it in old motor oil. It's this rapid cooling that hardens the steel:


After hardening the steel is very brittle, this means that the knife could snap. There are a number of ways to resolve this. I like to anneal the spine of the blade by heating it with a blow torch, watching that the heat patterns don't reach the cutting edge. I want the cutting edge to remain hardened so that it can stay sharper for longer.

It was then time to select some timber to make the "scales" or handle pieces.
This is a piece of an Oak tree that was growing in my garden, I felled it and allowed to season for a year:

I cut some Oak into two rough pieces that match up with three holes drilled in the "tang" or handle:
After shaping the scales some more with files and sand paper I cut some leather spacers that will sit against the tang.

Here you can see how this all assembled, note the scales and spacers are overhanging the tang all the way around to allow for final shaping once it's all finished:

An epoxy glue was mixed to bond all the pieces, brass rods were pushed through the knife before it was all clamped together and left overnight to cure.

Once completely set the clamps were removed and a few hours of sanding, filing and shaping of the handle began. Progressing through different grades of sand paper to result in a high quality polished finish.
The finished product:

The bottom brass pin is actually a brass tube, allowing for a leather strap to be fitted to the knife:

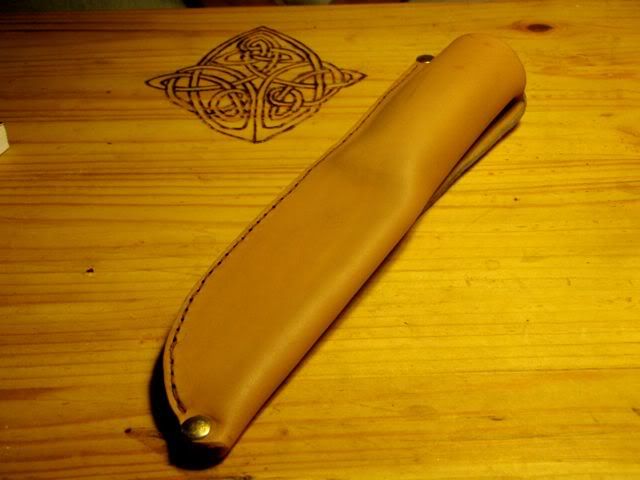
Coming soon will be an article about making leather sheaths and belts like these:


I produce custom knives and sheaths to order
Please contact me to discuss your requirementsinfo@handmadematt.com